

The shaft line is where the power the engine produces is transferred to the water, and it is one of the least understood systems on a boat. Owners usually notice it through vibration or water collecting in the bilge, yet both vibration and dripping are effects, not causes. The shaft line is a chain: coupling, shaft, seal or stuffing box, cutless bearing, propeller, and the water flow beneath the hull. A fault in one link wears down the others and eventually sends the bill to the engine mounts or the gearbox. This article explains how to read the line as a whole, what each symptom points to, and which checks to run in order once the boat is hauled out.
What the shaft line is made up of
In a classic shaft drive, power runs from the coupling at the gearbox output to the shaft, and from the shaft to the propeller. Where the shaft exits the hull, a component keeps the hull penetration watertight: a traditional stuffing box (graphite or PTFE packing) or a face-sealing dripless gland. The section of shaft outside the hull passes through a stern tube or an outboard bearing, where the shaft is typically supported by a water-lubricated, rubber-grooved cutless bearing. The propeller seats on a taper on the shaft, is driven by a key, and is secured with a nut.
Each component in this chain has its own tolerance, but they all share the same line. The coupling and the shaft must sit on the same axis, the shaft must turn centred within the stern tube, and the propeller must sit balanced on the end of the shaft. Deviation from this line is technically called misalignment, and it is the most common chronic problem in the whole line.
On the gearbox side, the shaft is connected to an engine resting on flexible mounts. Engine mounts settle and soften over time, while the hull is a structure that lives on the water and moves somewhat under load and with temperature. Together, these two facts mean alignment is not a job you do once and forget. Alignment is a living adjustment for the boat.
On sail-drive or stern-drive systems the geometry is different; instead of a shaft line there is a lower unit with its own seals, bellows and oil. The alignment section below does not apply directly, but the sections on cavitation, propeller damage, anodes and vibration apply just the same.
Alignment: why it goes out, and how it is done
Alignment means the gearbox output flange and the shaft flange share the same axis and their faces sit parallel. There are two types of fault: offset misalignment and angular misalignment. Both produce the same results: a variable load falls on the shaft and the gearbox output bearing at every revolution, the seal wears unevenly, the cutless bearing goes oval, and the boat vibrates at certain rev ranges.
The check is carried out by removing the coupling flange bolts and measuring the gap between the surfaces with a feeler gauge at four points (12, 3, 6 and 9 o'clock). Common industry practice holds that the difference between these four measurements should not exceed 0.05 mm for every 25 mm of flange diameter. Adjustment is made via the height and lateral position of the engine mounts; it is the engine side that is moved, not the shaft side.
When the alignment is carried out matters just as much as how it is done. The correct approach is to align the shaft with the boat afloat and loaded; a period is also allowed after launching for the hull to settle, which most boatyards apply as one to two days. Alignment carried out ashore, resting on props, is thrown off once the boat is launched, because ashore the hull is supported at the prop points, whereas afloat it is supported by the water. The fill level of the fuel and water tanks also affects the line.
Signs that alignment has been thrown off include: vibration that appears within a specific rev range and disappears when the revs change, one-sided wear on the stern gland packing, coupling bolts that repeatedly work loose, a step worn into the shaft at the seal contact area, and cracking of the engine mounts. Alignment must always be redone if the boat has been hauled out and relaunched, has run aground or suffered a hard impact, or if the engine or gearbox has been removed. Otherwise, an annual check is a reasonable rhythm; the haul-out period is a natural opportunity for this work, and an alignment check should be scheduled alongside the haul-out process when it is being planned.
Cavitation and ventilation: not the same thing
Both relate to the propeller losing its grip on the water, but their causes and consequences differ. Confusing the two leads to the wrong part being replaced.
Cavitation occurs when the pressure on the suction face of the propeller blade drops below the vapour pressure of water, causing vapour bubbles to form in situ. These bubbles collapse violently in the higher-pressure zone just aft of the blade, and each collapse delivers a microscopic hammer blow to the blade surface. The tell-tale signs are small pits on the blade surface, deepening over time near the hub, a sponge-like surface texture, and a hum that becomes more pronounced at high revs. Causes include: a propeller selected with too much pitch or too small a blade area for the boat, blade edges that have been damaged and lost their sharpness, an obstruction disturbing the water flow ahead of the propeller (a deformed strut aperture, marine growth, a poorly repaired protrusion, an unsuitable sonar dome), or the propeller sitting too close to the hull. Leaving adequate clearance between the blade tips and the hull is an established design principle; the general rule is that this clearance should be no less than around fifteen percent of the propeller diameter.
Ventilation, on the other hand, is when the propeller draws in air. Air enters the propeller disc from the surface or from the exhaust outlet, the propeller suddenly loses its load, the revs surge, and the boat stops being driven forward. The symptom, especially on take-off, in sharp turns or in waves, is a sudden rise in revs and loss of thrust. Causes: the propeller being too close to the waterline, excessive trim, vortices formed during sharp manoeuvres, and the exhaust outlet being positioned too close to the propeller area. Ventilation is temporary and leaves no permanent damage to the propeller; cavitation, on the other hand, eats away at the metal.
The rule for telling them apart is simple: take the propeller out of the water and look at it. If the surface shows pitting and a melted appearance, it's cavitation, and replacing the propeller without resolving the cause is a waste of money. If the surface is clean but there's a sudden surge in revs while under way, it's ventilation, and the installation/trim side should be examined.
Vibration: how to find the source
The first step when there's a vibration complaint is to describe the vibration. These three pieces of information rule out most of the possible causes: at what revs does it start, is there a difference between forward and reverse, and is it present when the engine is idling (gearbox in neutral)?
- Present within a specific rev range, absent below and above it: Imbalance of a rotating component or a misalignment fault. This is typically a resonance and is most often caused by the propeller or shaft.
- Keeps increasing continuously with revs: Propeller imbalance or a bent shaft is a stronger suspect.
- Only in forward gear, absent in reverse (or vice versa): Blade damage and geometry that changes under load; also the gearbox and coupling side.
- Also present when the gearbox is in neutral: The problem is most likely not in the shaft line but in the engine and its mounts.
- Changes when the helm is turned: Related to water flow; rudder bearing clearance, damage to the rudder blade, or flow disruption at the propeller outlet.
The most common concrete causes of vibration are: a propeller with a bent, chipped or unbalanced blade; a bent shaft; a worn stern tube bearing with excessive clearance; misalignment; a cracked engine mount; loose coupling bolts; and fishing line or netting caught on the propeller. The simplest and most often overlooked cause is biological growth on the propeller: a propeller with a roughened surface both loses efficiency and generates vibration.
Leaving vibration to be "got used to" turns out costly. Vibration eats away at the shaft seal, the stern tube bearing, the gearbox output bearing, and, over time, the engine mounts. It can also start a crack at the stern tube-to-hull joint through vibration transmitted into the hull. Once the complaint begins, the entire line should be overhauled at the first haul-out opportunity.
Propeller damage, balance and pitch
The propeller is the most finely tuned part in the water and one of the components of the boat that takes the most impact. Even a millimetre-scale nick on the blade edge disrupts the flow; a bent blade tip throws off the centrifugal balance as it rotates and generates vibration.
Once the propeller is out of the water, check the following: the integrity of the blade tips and leading edges, whether the blades sit at the same pitch angle relative to one another, cavitation pitting on the surface, whether the rubber bush has rotated on hub types fitted with a rubber bush, and, on folding and variable-pitch propellers, whether the mechanism opens and closes freely. If a blade shows noticeable bending, cracking or a missing section, the propeller should be removed and taken to a propeller workshop to be measured, repaired and balanced. Balancing is not something to correct by eye; it is done in the workshop using measuring instruments.
Pitch is the theoretical distance a propeller advances in one revolution, and it has a direct effect on the boat's engine speed. If the engine cannot reach the manufacturer's stated maximum rpm at full throttle, the propeller is over-pitched; the engine is overloaded, the exhaust smokes black, it overheats and fuel consumption rises. If it exceeds the maximum rpm at full throttle, the pitch is too low; in this case the engine cannot transfer its power to the water. The correct propeller is one that allows the engine to reach approximately its maximum rated rpm at full throttle under the boat's normal load and with a clean hull. Do not take the measurement with a fouled hull; the result will be misleading. Hull cleanliness and antifouling condition are a prerequisite for assessing the propeller.
Removing and fitting the propeller is also a matter of workmanship. The tapered surface and keyway must be clean, the key must seat fully, the nut must be tightened to the torque specified by the manufacturer, and its locking device (split pin or lock nut) must always be fitted. Applying grease to the tapered surface is a common mistake; the taper should seat dry and clean.
Seals, stuffing boxes and shaft bearings
The point where the shaft exits the hull is one of the most critical sealing points on a boat. There are two main approaches, and they are maintained differently.
A traditional stuffing box achieves a seal by compressing packing material around the shaft. By design, it is expected to drip slightly while running; this drip keeps the packing and the shaft cool. The general rule is that a few drops a minute are acceptable while the shaft is turning, and dripping should stop once the engine is switched off. Packing tightened so it never drips at all will heat the shaft and cut a permanent wear groove into it. Packing that leaks continuously has either loosened or the material has hardened and reached the end of its service life. Renewing the packing is a haul-out job; if the wear groove on the shaft is deep, the shaft itself must also be addressed.
Dripless seals work on the principle of carbon-ceramic face contact or a lip seal, and stay dry. With these, the critical point is the condition of the bellows and the feed hose: the rubber bellows ages and cracks, and after a certain age it is replaced even if it still looks sound. The replacement interval recommended by the manufacturer is the only reliable reference here. Most dripless seals also require a water feed between the faces; if the bellows is not bled of air after launching, the seal will overheat and burn out on the first outing. This is one of the most common mistakes made on launch day.
The cutless bearing is a water-lubricated rubber bearing with grooves that keeps the shaft centred. When it wears, the shaft moves within the bearing; the symptom is play felt when the shaft end is moved up and down by hand while the boat is ashore, and increasing vibration underway. The bearing's grooves must not become blocked; water flowing through them both lubricates and cools. Sand and weed clog these grooves and wear the bearing out prematurely. Aligning the shaft without replacing a worn bearing first is wasted effort; the order is bearing first, alignment second.
Anode inspection and galvanic corrosion
Different metals below the waterline (bronze propeller, stainless steel shaft, lead or iron keel, bronze seacocks) form a galvanic cell in seawater, and the more active metal begins to corrode. The anode is the metal deliberately sacrificed within this cell: it corrodes itself to protect the others. On the shaft line, the anode usually takes the form of a collar on the shaft, a cap on the propeller hub, or a plate fitted to the hull.
Anode selection depends on the water. Zinc and aluminium anodes are used in salt seawater; magnesium is for fresh water and corrodes far too quickly in seawater. Aluminium anodes offer a wider working range in both salt and brackish water. Do not mix different anode types on the same boat.
The maintenance rule is simple: replace the anode once it is around half worn away. Waiting for it to corrode completely means that, from the moment the protection window closes, the bronze and stainless steel parts begin to corrode instead. The surface the anode contacts must be bare metal; an anode screwed onto a painted surface does nothing at all. Never apply antifouling or paint over an anode.
If anodes are corroding at an unusual rate, this points to a problem outside the boat itself. The most common cause is a galvanic connection formed with neighbouring boats through the shore power connection, which is resolved with a galvanic isolator or an isolation transformer. A change in anode consumption after moving to a different marina tells the same story. The second possibility is a stray current within the boat, in which case the electrical system must be checked from scratch.
Once the boat is hauled out: a step-by-step checklist
The entire shaft line can only be inspected while the boat is ashore. On haul-out day, the following checks should be carried out immediately after the hull is washed down, before it dries:
- Turn the propeller by hand. It should rotate freely, with no rubbing or catching. On a folding propeller, the blades should open and close smoothly.
- Move the shaft up and down and side to side. Any noticeable play indicates that the cutless bearing has worn.
- Inspect the propeller surface. Check for bending and nicks at the blade tips, cavitation pitting on the surface, and signs of the rubber bush spinning in the hub.
- Check the shaft. Step wear at the seal contact area, surface scratches or pitting, visible bending. If in doubt, the shaft should be removed and measured with a dial indicator.
- Measure the anodes. Replace any anode that has eroded more than half away; the anode seat and screws should be bright metal.
- Inspect the stuffing box or shaft seal. Bellows age, hose clamps (should be stainless and doubled up), condition of the packing gland.
- Clean the strut outlet and water passage. The bearing grooves must be clear, and the P-bracket (outer bearing support) must be free of cracks or looseness.
- Rudder blade and bearing. Play, cracks, and whether water has entered the blade. The clearance between the rudder and propeller is also part of the flow.
- Coupling bolts and engine mounts. Looseness, cracked rubber, rust on the adjustment nuts.
The work identified at the end of these checks is sequenced with a clear logic: first the parts that determine the geometry of the line, such as the bearing and strut, then the seal and stuffing box, then propeller work, and finally alignment. Alignment is always the last step, and it is checked and finalised only after the boat is back in the water and the hull has settled.
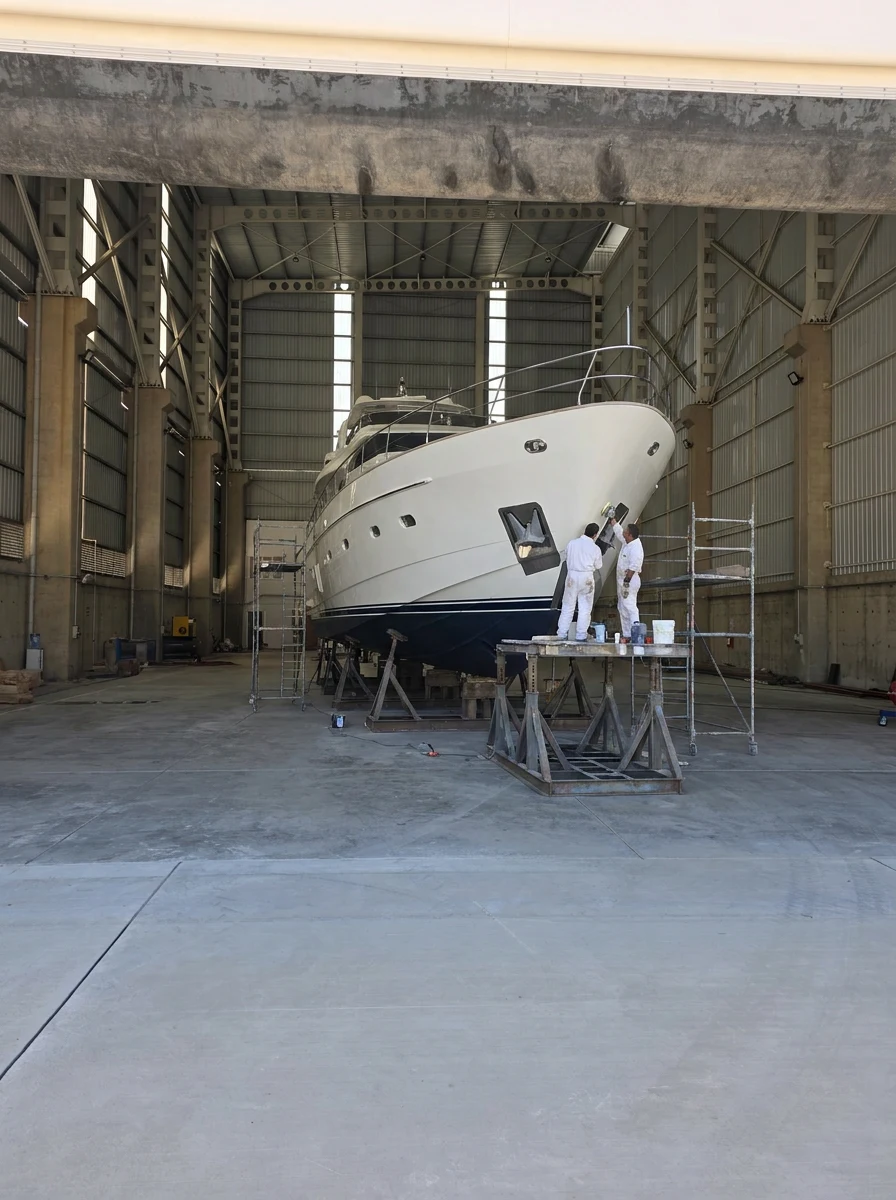
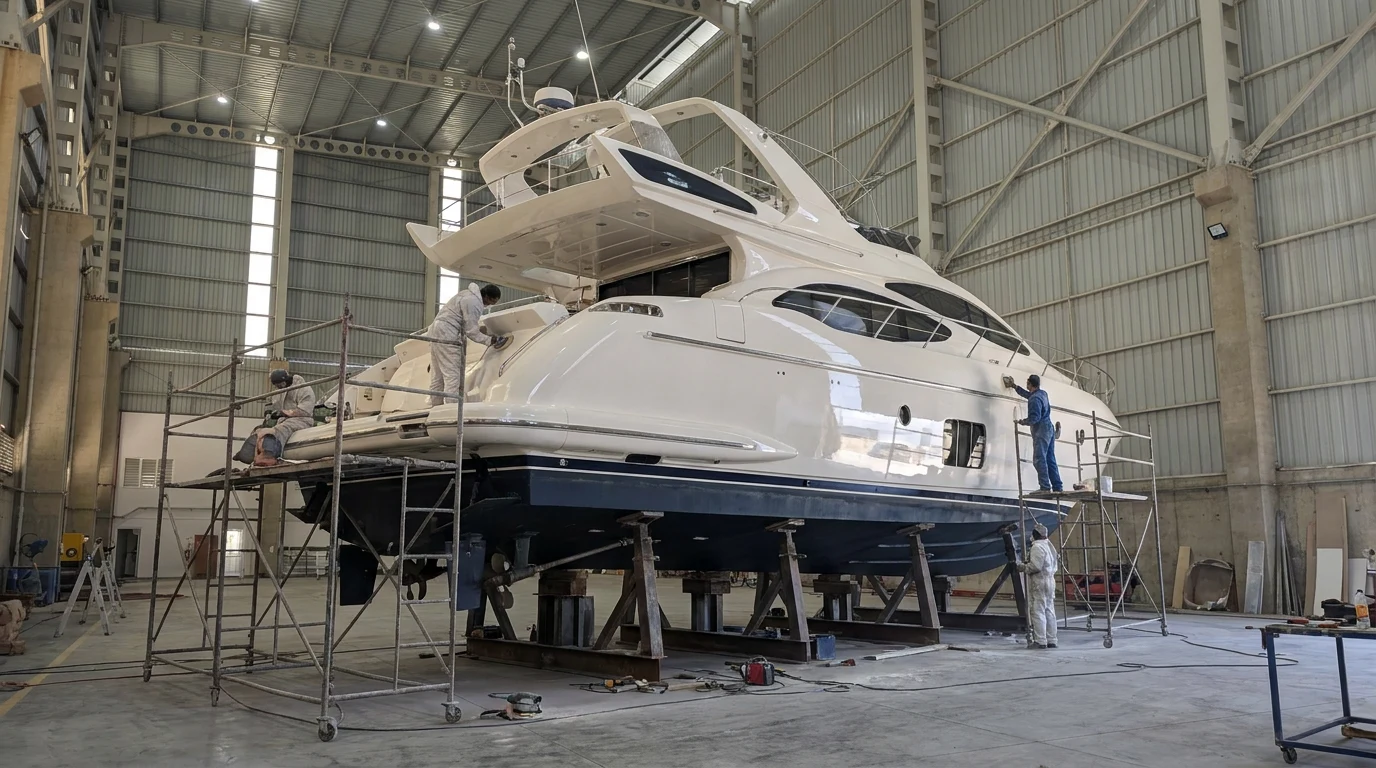
Shaft line work is carried out within the limited window while the boat is out of the water, so the list is drawn up in advance and parts are sourced beforehand. At our facility in Ören, we handle shaft, propeller, seal and alignment work within the same haul-out schedule; if your boat has a vibration or leak issue, take a look at our services and get in touch with us. For an annual inspection rhythm, our yacht maintenance calendar article is a good complement.

 Bodrum Beton
 Bodrum Boru
 İTS Maden
 İTS Gıda